将Odoo中的VoIP服务与Axivox一起使用
介绍
Odoo VoIP可以设置为与`Axivox <https: www.axivox.com/=”“>`_一起工作。在这种情况下,不需要:doc:Asterisk服务器 <asterisk>,因为基础架构由Axivox托管和管理。</asterisk></https:>.
要使用此服务,请“联系Axivox<https://www.axivox.com/contact/>”_开立账户。在执行此操作之前,请验证Axivox是否覆盖了您的区域以及您要呼叫的区域。
配置
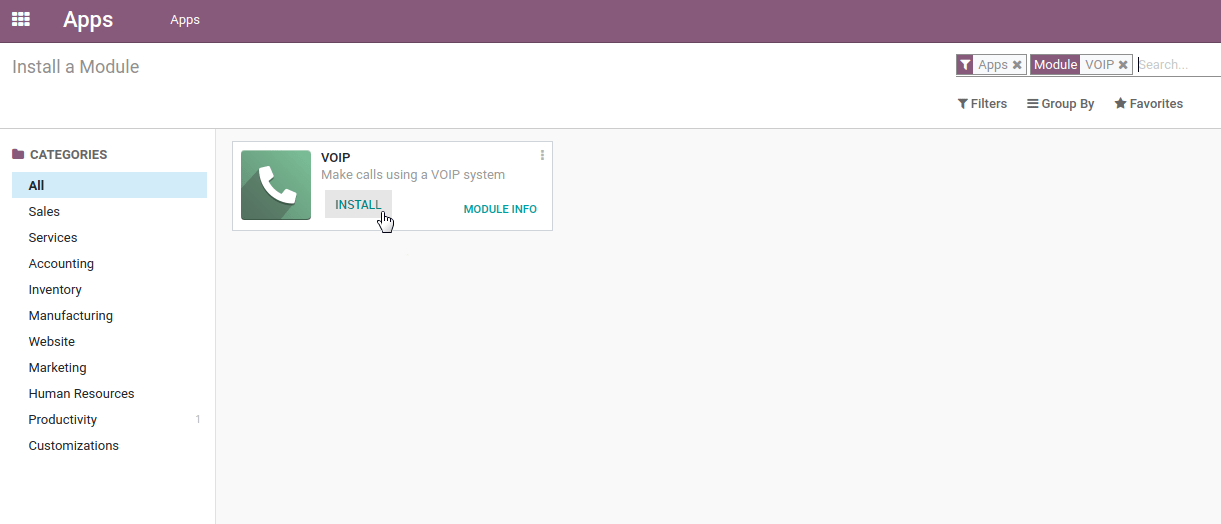
转到 :menuselection:“应用程序”并安** VoIP模** 。
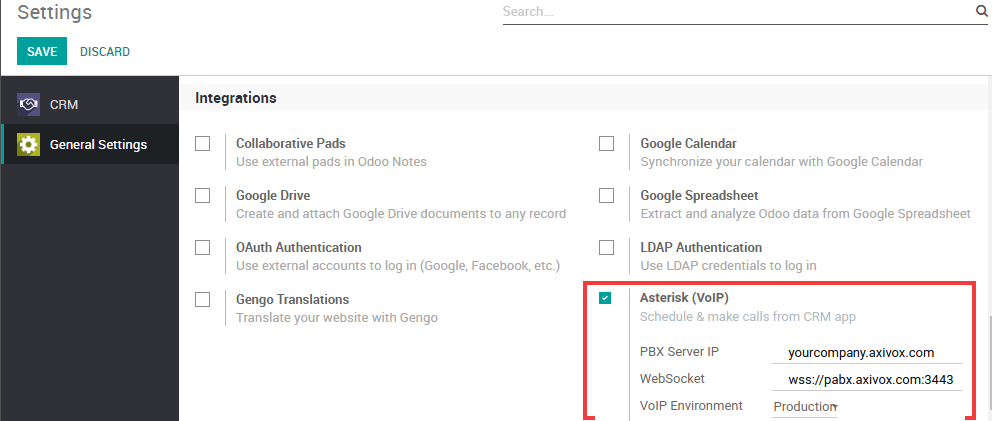
PBX服务器IP:设置Axivox为您的账户创建的域(例如,yourcompany.axivox.com)
WebSocket:键入“wss://pabx.axivox.com:3443`
VoIP 环 :设置为*生产*
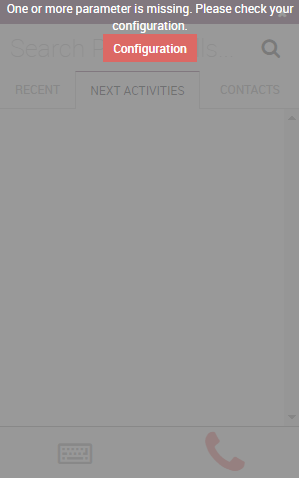
在 Odoo 的用户中配置 VOIP 用户
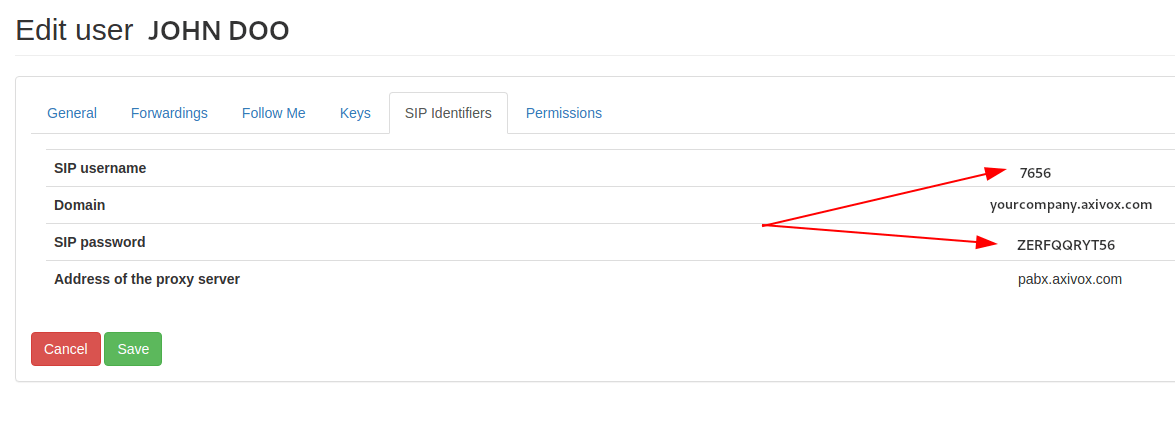
转到 :menuselection:’Settings –> Users & Companies –> Users’,然后打开要配置的用户表单。在“首选项”选项卡下,填写“PBX 配置”部分:
SIP登录/浏览器的扩展:Axivox 用户名
SIP密 :Axivox SIP密码

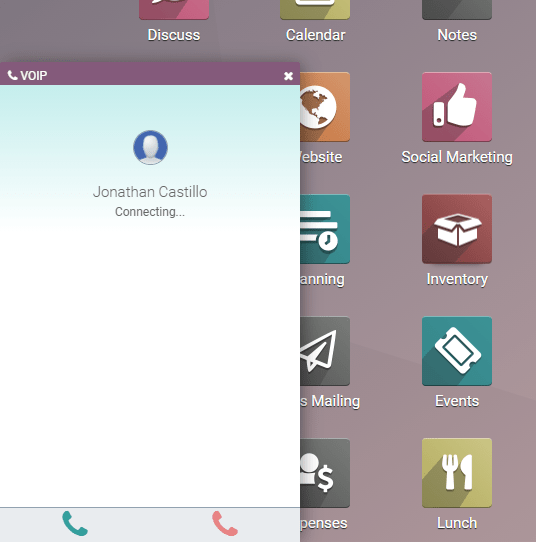
电话
您可以通过单击导航栏中的电话图标来拨打电话。
您也可以接听电话。Odoo 响铃并显示通知。
注解
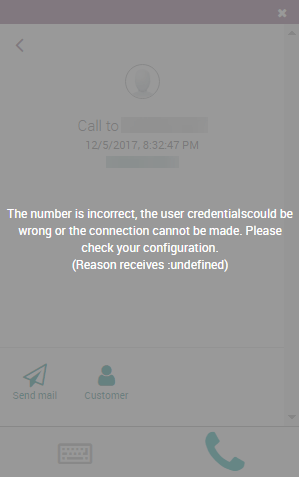
您的号码是Axivox提供的号码。
小技巧
如果您在Odoo软电话中看到*不正确的号码*消息,请确保使用国际格式,以加号(+)开头,后跟国际国家/地区代码。例如,+16506913277(其中 +1 是美国的国际前缀)。